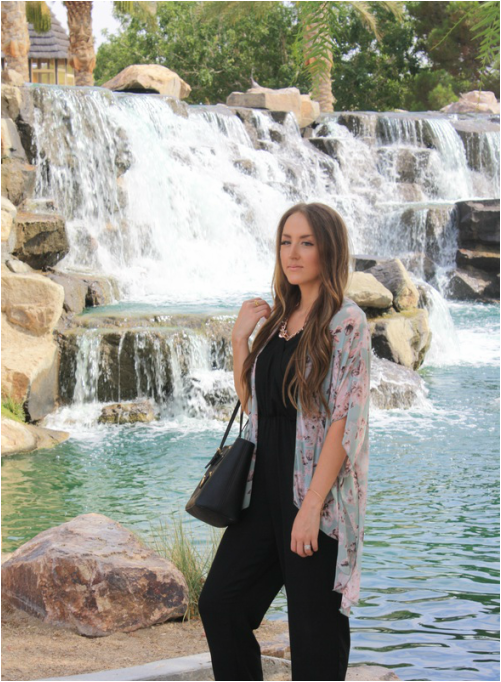
Rock the Romper Trend
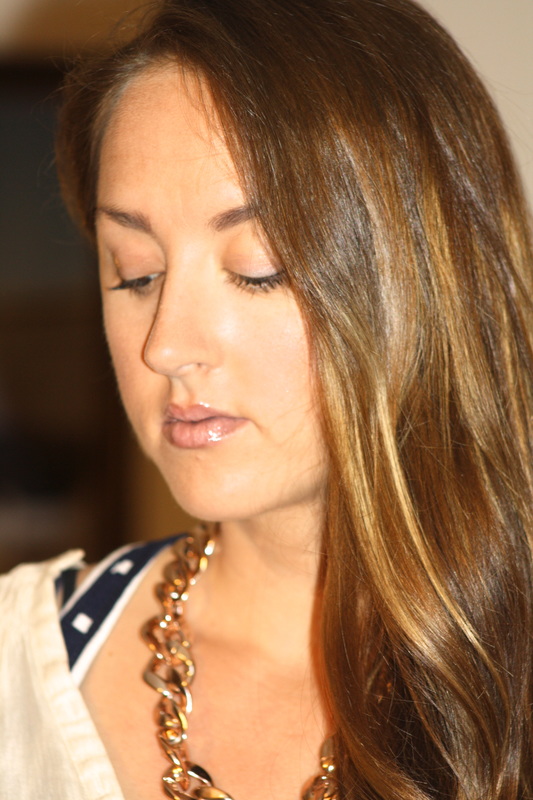
Glammed up: Get this look by adding a colorful shawl, necklace, wedges, and cute handbag.

Jean
Remove unwanted facial hair
A lot of women have unwanted hair growth on their face, but there are many ways to get rid of it.
I have tried bleaching the hair with 'Sally Hansen Cream Hair Bleach'. However, this can get messy, you could burn your skin accidentally with the bleach, and you still have the hair.
I have also tried the 'Sally Hansen Wax strips'. You are supposed to rub the wax strips between your hands to warm the wax. I have found this product to not work very well. It does not remove all of the hair and can leave wax on your lip.
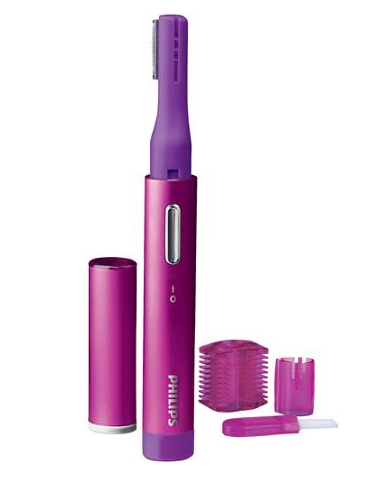
Here is the EASIEST way that I have found to get rid of unwanted hair and it does not require waxing or bleaching. And great news, it will only cost you $13 at Walmart or Target!
It is the Philips Precision Perfect Precision Hair Trimmer. This pen trimmer makes the process super quick and easy. You can upkeep it everyday if you wanted to, and that would only take you about 30 seconds. By the way, this also includes different attachments, so you can use it for trimming your eyebrows and bikini area.
Jean
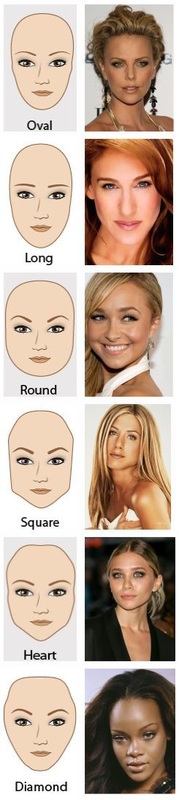
Choosing the Right Sunglasses for Your Face Shape
Step 1. Pull your hair back and use your ruler to measure from ear to ear stopping at where the ear begins (width) and from the top of your forehead to the bottom of your chin (length). Your ratio of width to length should be 1 to 1, 1 to 1 1/2, or 1 to 2.
Step 2. Use the tape measure to measure your forehead, cheeks, and jaw at the widest points.
Oval-your width to length ratio is 1 1/2
Long-your width to length ratio is more than 1 to 1 1/2
Round-forehead, cheekbones, and jaw are equal, round jaw, soft features, your width to length ratio is 1 to 1
Square-forehead, cheekbones, and jaw are equal, sharp jawline, angular features, your width to length ratio is 1 to 1 OR 1 to 1 1/2
Heart-wider at the forehead and more narrow at the jawline, possible pointy chin, looks like inverted triangle
Diamond-widest at your cheekbones, jawline and forehead are the same length
Choosing your sunglasses based on your face shape:
Oval-this face shape can pretty much wear any shape...lucky you!
Long-avoid small frames, look for square or rectangle shapes
Round-angular frames look best to add definition and accentuate your bone structure, square shapes
Square-circular, soft shapes to balance out the strong jawline
Heart-Aviator frames look the best to soften and balance your features, choose frames that broaden the jawline
Diamond-choose curved frames like oval or cat eye to widen the face and balance the jaw line
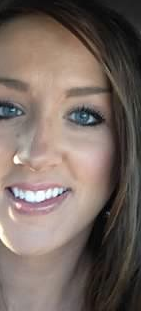
Fuller Lips: Makeup Tutorial
Dont want to use suctioning to get fuller lips? Try this lip liner trick for the appearance of fuller lips :) Here are the steps and the products that I used.
1. Exfoliate and moisturize lips. You can exfoliate at home with vaseline & a toothbrush or a honey & sugar scrub. Then use a small amount of your favorite clear lip balm.
2. Over-line your Cupid’s bow with a lip liner that’s darker than your natural lip color. Overline the middle of your bottom lip line as well (tear drop section of lips).
3. Under-line the rest of your lip lines.
4. Draw vertical lines on the lips with a lip liner where there are natural creases.
5. Use the lip liner to emphasize the natural shadow of your lips
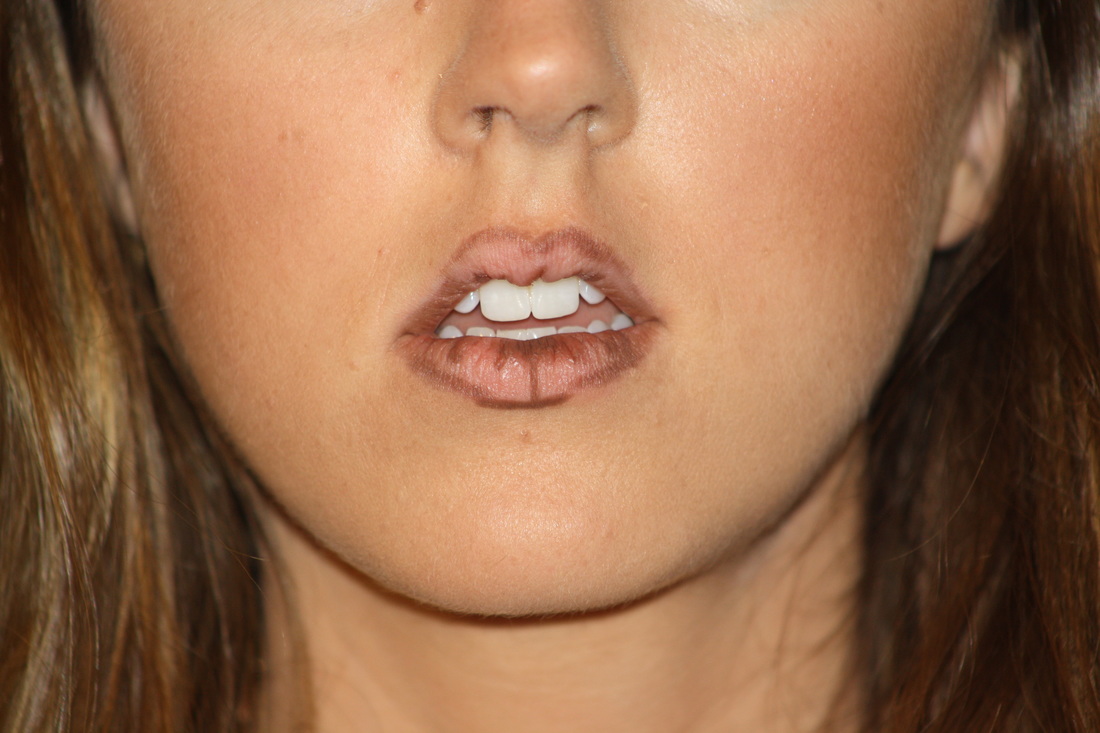
6. Highlight the center of your upper and lower lip
7. Apply lip color
8. Blend
9. Apply a lip plumper gloss
Lip Liner: NYX - brown
Highlighter: elf - light/glow
Lipstick: Nars velvet lip pencil - Buenos Aires
and MAC lipstick - Creme d'Nude
Lip plumper gloss: Buxom full-on lip polish - Sophia
Sincerely, Jean
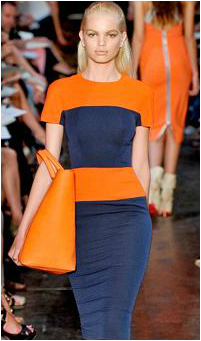
5 Spring Fashion Color Combos
1. Mint & Lime


Sincerely,
Jean
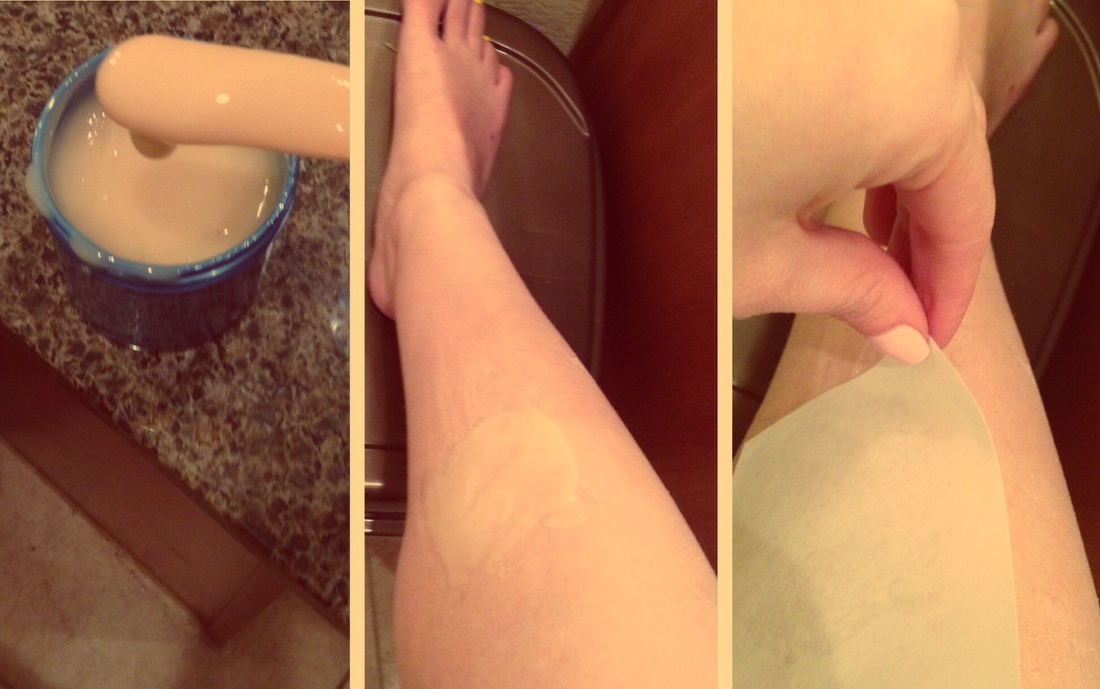
Wax your own legs: Sally Hansen Review
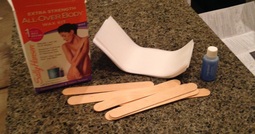
I did my lower legs, and here are the steps:
1. Divide lower leg into 2 segments (Knee then knee to ankle).
2. Heat the wax accordingly...wax must be spread thinly. I heated the whole jar for 1 minute. I had to reheat it for about 20 seconds a couple times during this process. Be sure not to burn yourself!
3. Apply the wax with the popsicle sticks in the direction of hair growth. Do not wax more that a 2 inch square area at a time
4. Apply strip in the direction of hair growth. Stroke strip 2-3 times. Pull very quickly in the opposite direction
My Review:
Good:
1. MONEY: I saved LOTS of money. With this product (found at Ulta/WalMart/etc) at about $10, and a full leg wax is about $70 plus tip, this is a great save.
2. PAIN: It didn't really hurt me at all.
Bad:
1. WAX STRIPS: I quickly realized that there were not enough strips. I was only really able to do one leg, and then I was out of clean strips. So, I recommend purchasing extra strips. With one lower leg done, I still had about half of the wax left though.
2. MESS: This got a little messy, so make sure you do this in your bathroom or something. I did not really expect any wax kit to not be messy though :)
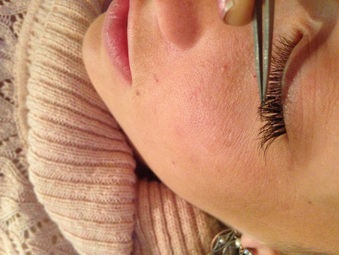
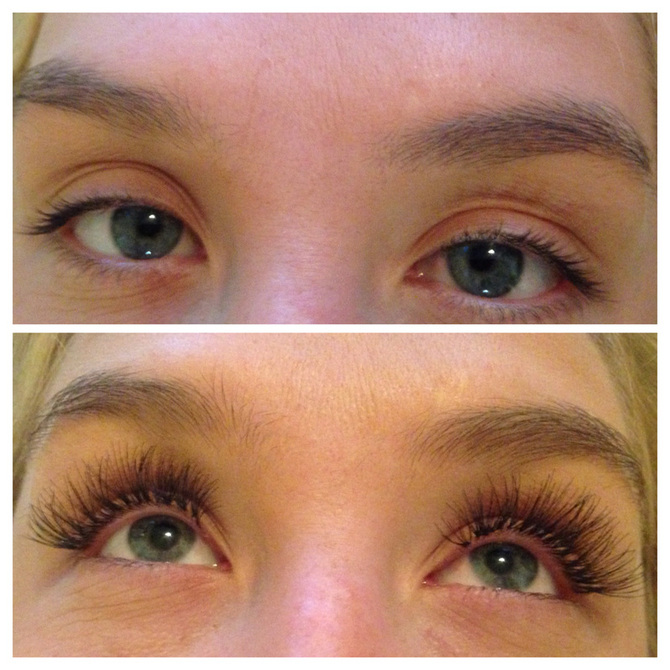
DIY Sassy Lashes
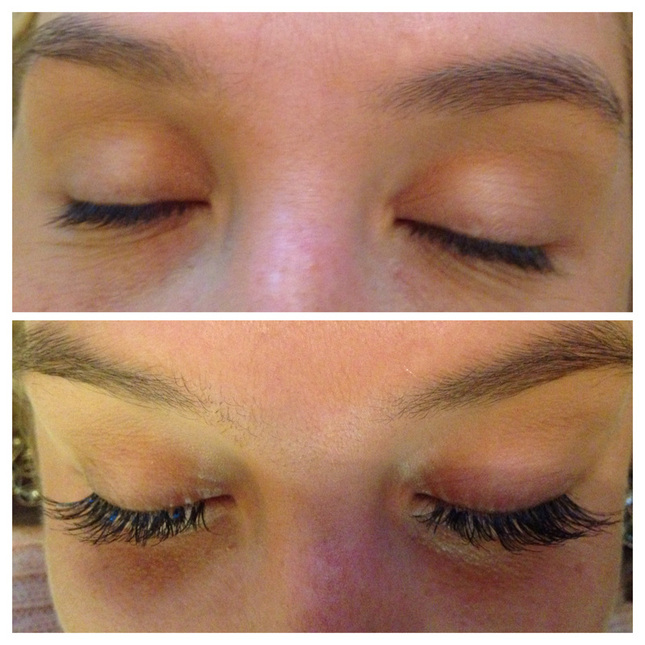
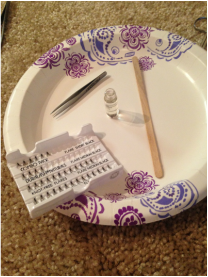
You will need:
1. Lashes - they usually come in a box of "mediums" for the outer ends and "shorts".
2. Tweezers
3. Lash Glue. These come in 2 varieties - temporary and permanent.
4. 2 popsicle sticks
5. (Optional) Under eye tape/sticky pads to tape down bottom eyelashes. This is hard to find in stores, so if you want this, you will probably have to buy from amazon/ebay.
I usually just buy an "Ardell Duralash Starter Kit" from Sally's Beauty because this has short lashes, medium lashes, tweezers, and permanent glue.
Steps:
1) Thoroughly clean your eyelashes so they are free of makeup and oily residue.
2) If wanted, tape down bottom natural lashes to prevent glue from sticking to unwanted areas during application. If you don't have tape/pads, then just make sure you are opening your eyes a lot to make sure the bottom lashes are not sticking to your upper lashes.
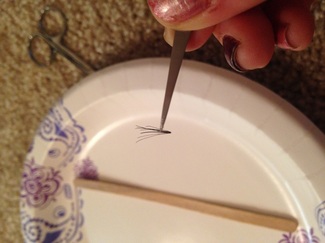
3) Using tweezers, pick up one cluster eyelash extension. Dip the knot/bottom of the eyelash extension into the lash adhesive trying not to get the glue on the tweezers.You can dip right into the glue bottle or squeeze a small amount of the glue onto a disposable surface.
4) Apply them one by one from the outside-in (ear towards noes) or you can start in the center, whichever you prefer (I prefer outside-in). Try to place eyelash extension base as close as possible to the intersection of the eyelid and natural eyelash without touching the skin.
6) Use popsicle sticks to squeeze eyelash extensions to the natural eyelash to secure a tighter bond and meld into your natural lashes.
7) Repeat until the desired look is achieved with the eyelash extensions.
Jean
Eliminate dark under eye circles
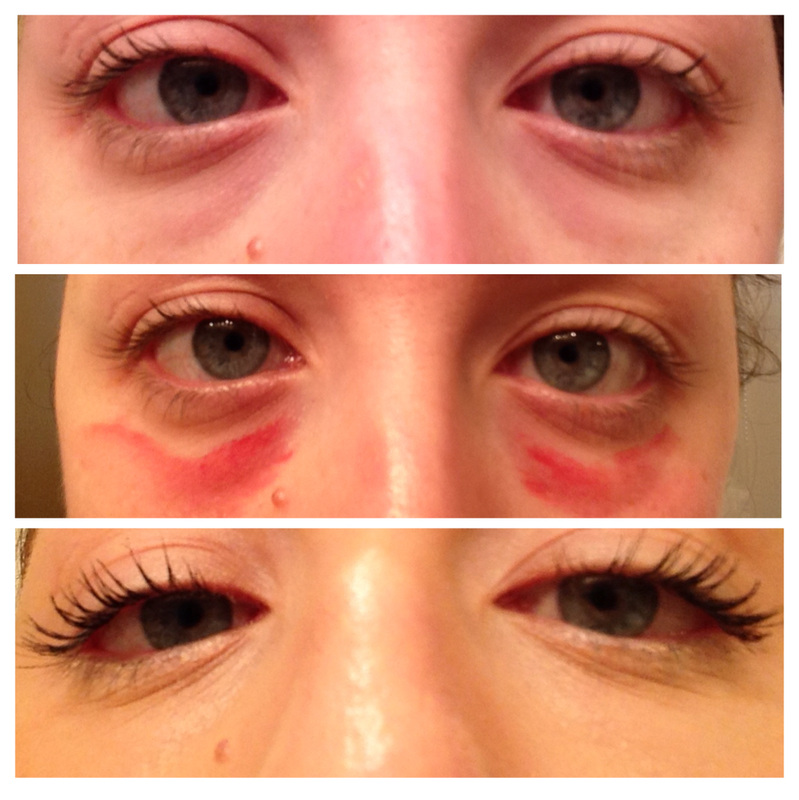
1. Use eye blender brush to apply red lipstick under your eyes. Apply alot or a little depending on what look/coverage you are going for.
2. Put your concealer directly over the lipstick and proceed with your regular make up routine

Jean
